
官方套件 · 框架
Astro 的 Live Chat 與即時功能
一個 Astro 整合套件:在 astro.config 加一行,每一頁就有 Hibira Live Chat;頁面腳本透過一條共用連線收到事件、presence 和串流的 LLM 回答。支援 Astro 4 到 7。


最快的方式:裝好 Hibira 外掛,貼上一段提示詞
在你的 AI 程式助手裝好外掛,再貼上提示詞。助手會幫你登入、需要時建立免費應用、寫好程式碼並送出測試事件。 GitHub ↗
安裝外掛
claude plugin marketplace add hibira-io/agent-plugin
claude plugin install hibira@hibira
貼上這段提示詞
Add Hibira Astro (@hibira-io/astro) to this project.
Follow https://hibira.io/guides/astro, adapted to how this project is already set up.
If I have no Hibira app yet, create a Free one that allows http://localhost so I can test right away.
Keep the app key and secret in environment variables, add placeholders to .env.example, and never commit real values or send the secret to a browser.
When you are done, send a test event, show me it arriving, and list the files you changed.
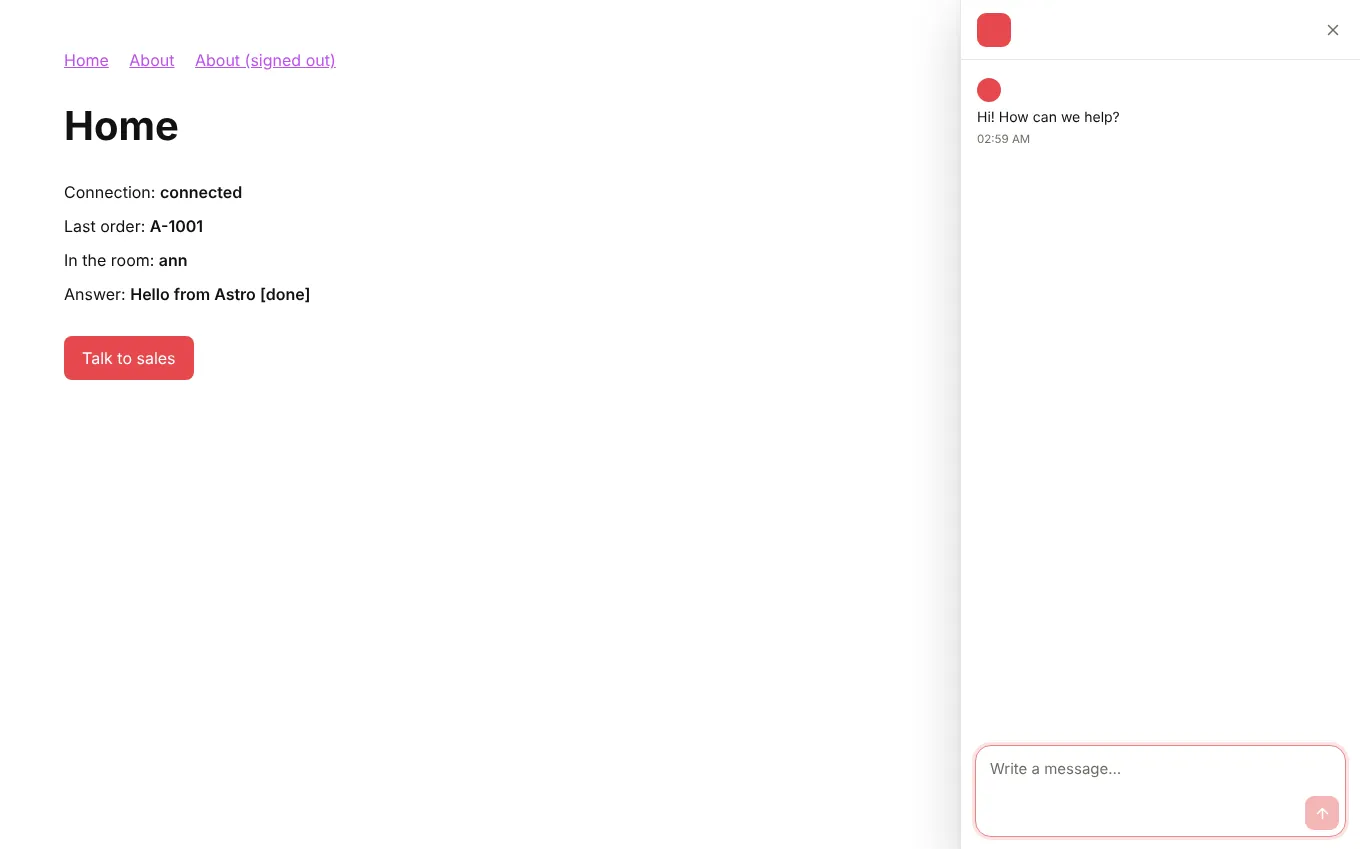
- 聊天只載入一次,經過 view transitions 也保持開啟;<LiveChatButton> 和連到 #hibira-live-chat 的連結都能開啟它。
- <LiveChatUser> 在伺服器端用你的身分密鑰簽署訪客,收件匣會顯示他是誰,對話也能跨裝置延續。
- 在任何 <script> 或 island 使用 onEvent、onPresence 和 onStream,用 channelAuth() 做 API route,用 streamToChannel() 傳送 LLM 回答。
登入後,範例程式碼會自動帶入您的叢集主機。 登入
安裝
npx astro add @hibira-io/astro
npm install pusher-js
設定
// astro.config.mjs
import { defineConfig } from 'astro/config';
import hibira from '@hibira-io/astro';

export default defineConfig({
  integrations: [
    hibira({
      liveChat: 'ws_YOUR_WORKSPACE', // or PUBLIC_HIBIRA_LIVECHAT_WORKSPACE
      realtime: {
        key: import.meta.env.PUBLIC_HIBIRA_KEY,
        options: {
          wsHost: 'ws.hibira.io',
          channelAuthorization: { endpoint: '/api/hibira/auth', transport: 'ajax' },
        },
      },
    }),
  ],
});
使用
---
import { LiveChatUser, LiveChatButton } from '@hibira-io/astro/components';
const user = Astro.locals.user;
---
<LiveChatUser user={user && { id: user.id, name: user.name, email: user.email }} />
<LiveChatButton topic="sales">Talk to sales</LiveChatButton>
<p><span id="online">0</span> online</p>

<script>
  import { onEvent, onPresence } from '@hibira-io/astro/realtime';

  onEvent('orders', 'order.created', (order) => console.log(order));
  onPresence('presence-dashboard', ({ count }) => (document.getElementById('online').textContent = String(count)));
</script>
開始之前
- 在 Live Chat 主控台找到 workspace ID,並在「設定」的「已驗證訪客」建立身分密鑰。把它放在 HIBIRA_LIVECHAT_IDENTITY_SECRET,只留在你的伺服器上。
- Free 方案需要把頁面載入的每個來源都加進應用程式的「允許的來源」(開發時是 http://localhost:3000,之後是您的網域)。"*" 需要付費方案。
- 私人頻道與 presence 頻道需要後端提供授權端點,用應用程式密鑰簽署訂閱,做法和 pusher-js 相同。
- Astro 5.14 以後的版本若在 proxy 後面,請把網域列在 security.allowedDomains,否則 Astro 會以 403 拒絕授權請求。
請使用儀表板中的應用程式 Key;Secret 只放在你的伺服器上。頻道、事件與授權端點的用法和 Pusher 完全相同。 免費建立帳號 →