
공식 패키지 · 프레임워크
Astro용 Live Chat과 실시간 기능
Astro 통합: astro.config에 한 줄만 추가하면 모든 페이지에 Hibira Live Chat이 들어가고, 페이지 스크립트는 공유된 연결 하나로 이벤트, presence, 스트리밍되는 LLM 답변을 받습니다. Astro 4~7 지원.


가장 빠른 방법: Hibira 플러그인과 프롬프트 하나
AI 코딩 에이전트에 플러그인을 설치하고 프롬프트를 붙여 넣으세요. 에이전트가 로그인하고, 필요하면 무료 앱을 만들고, 코드를 작성한 뒤 테스트 이벤트를 보냅니다. GitHub ↗
플러그인 설치
claude plugin marketplace add hibira-io/agent-plugin
claude plugin install hibira@hibira
이 프롬프트 붙여 넣기
Add Hibira Astro (@hibira-io/astro) to this project.
Follow https://hibira.io/guides/astro, adapted to how this project is already set up.
If I have no Hibira app yet, create a Free one that allows http://localhost so I can test right away.
Keep the app key and secret in environment variables, add placeholders to .env.example, and never commit real values or send the secret to a browser.
When you are done, send a test event, show me it arriving, and list the files you changed.
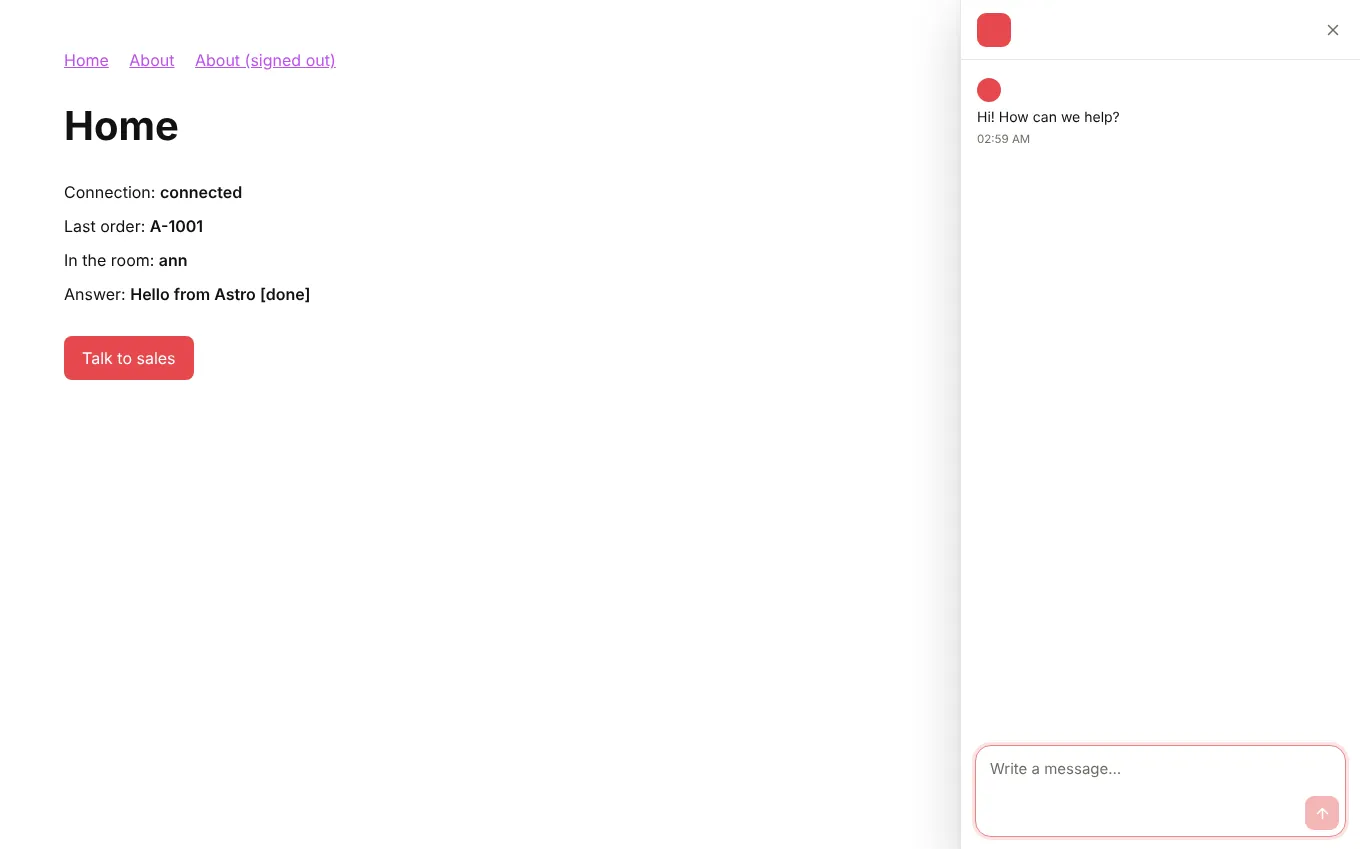
- 채팅은 한 번만 로드되고 뷰 전환 중에도 열린 상태로 유지됩니다. <LiveChatButton>과 #hibira-live-chat 링크로 열 수 있습니다.
- <LiveChatUser>가 서버에서 식별 비밀키로 방문자를 로그인시키므로, 받은 편지함에 누구인지 표시되고 대화가 기기 간에 이어집니다.
- 어떤 <script>나 island에서도 onEvent, onPresence, onStream을 쓰고, API 라우트에는 channelAuth(), LLM 답변에는 streamToChannel()을 씁니다.
로그인하면 예제 코드에 내 클러스터 호스트가 채워집니다. 로그인
설치
npx astro add @hibira-io/astro
npm install pusher-js
설정하기
// astro.config.mjs
import { defineConfig } from 'astro/config';
import hibira from '@hibira-io/astro';

export default defineConfig({
  integrations: [
    hibira({
      liveChat: 'ws_YOUR_WORKSPACE', // or PUBLIC_HIBIRA_LIVECHAT_WORKSPACE
      realtime: {
        key: import.meta.env.PUBLIC_HIBIRA_KEY,
        options: {
          wsHost: 'ws.hibira.io',
          channelAuthorization: { endpoint: '/api/hibira/auth', transport: 'ajax' },
        },
      },
    }),
  ],
});
사용하기
---
import { LiveChatUser, LiveChatButton } from '@hibira-io/astro/components';
const user = Astro.locals.user;
---
<LiveChatUser user={user && { id: user.id, name: user.name, email: user.email }} />
<LiveChatButton topic="sales">Talk to sales</LiveChatButton>
<p><span id="online">0</span> online</p>

<script>
  import { onEvent, onPresence } from '@hibira-io/astro/realtime';

  onEvent('orders', 'order.created', (order) => console.log(order));
  onPresence('presence-dashboard', ({ count }) => (document.getElementById('online').textContent = String(count)));
</script>
시작하기 전에
- Live Chat 콘솔에서 워크스페이스 ID를 확인하고, 설정의 인증된 방문자에서 식별 비밀키를 만드세요. HIBIRA_LIVECHAT_IDENTITY_SECRET에 넣으면 서버에만 남습니다.
- Free 요금제에서는 페이지를 불러오는 모든 오리진을 앱의 허용 오리진에 등록하세요(개발 중에는 http://localhost:3000, 이후에는 내 도메인). "*"는 유료 요금제에서 쓸 수 있습니다.
- 프라이빗 채널과 프레즌스 채널에는 pusher-js와 마찬가지로, 앱 시크릿으로 구독에 서명하는 인증 엔드포인트가 백엔드에 필요합니다.
- Astro 5.14 이상을 프록시 뒤에서 실행한다면 security.allowedDomains에 도메인을 등록하세요. 그렇지 않으면 Astro가 인증 요청을 403으로 거부합니다.
대시보드의 앱 키를 사용하세요. 시크릿은 서버에만 둡니다. 채널, 이벤트, 인가 엔드포인트는 Pusher와 똑같이 동작합니다. 무료 계정 만들기 →