
公式パッケージ · フレームワーク
Astro 向け Live Chat とリアルタイム機能
Astro インテグレーション:astro.config に 1 行加えるだけで全ページに Hibira Live Chat が入り、ページのスクリプトは共有の 1 本の接続でイベント、プレゼンス、ストリーミングされる LLM の回答を受け取れます。Astro 4〜7 に対応。


最速の方法:Hibira プラグインとプロンプト 1 つ
AI コーディングエージェントにプラグインを入れて、プロンプトを貼り付けるだけ。エージェントがサインインし、必要なら無料アプリを作成し、コードを書いてテストイベントを送ります。 GitHub ↗
プラグインをインストール
claude plugin marketplace add hibira-io/agent-plugin
claude plugin install hibira@hibira
このプロンプトを貼り付け
Add Hibira Astro (@hibira-io/astro) to this project.
Follow https://hibira.io/guides/astro, adapted to how this project is already set up.
If I have no Hibira app yet, create a Free one that allows http://localhost so I can test right away.
Keep the app key and secret in environment variables, add placeholders to .env.example, and never commit real values or send the secret to a browser.
When you are done, send a test event, show me it arriving, and list the files you changed.
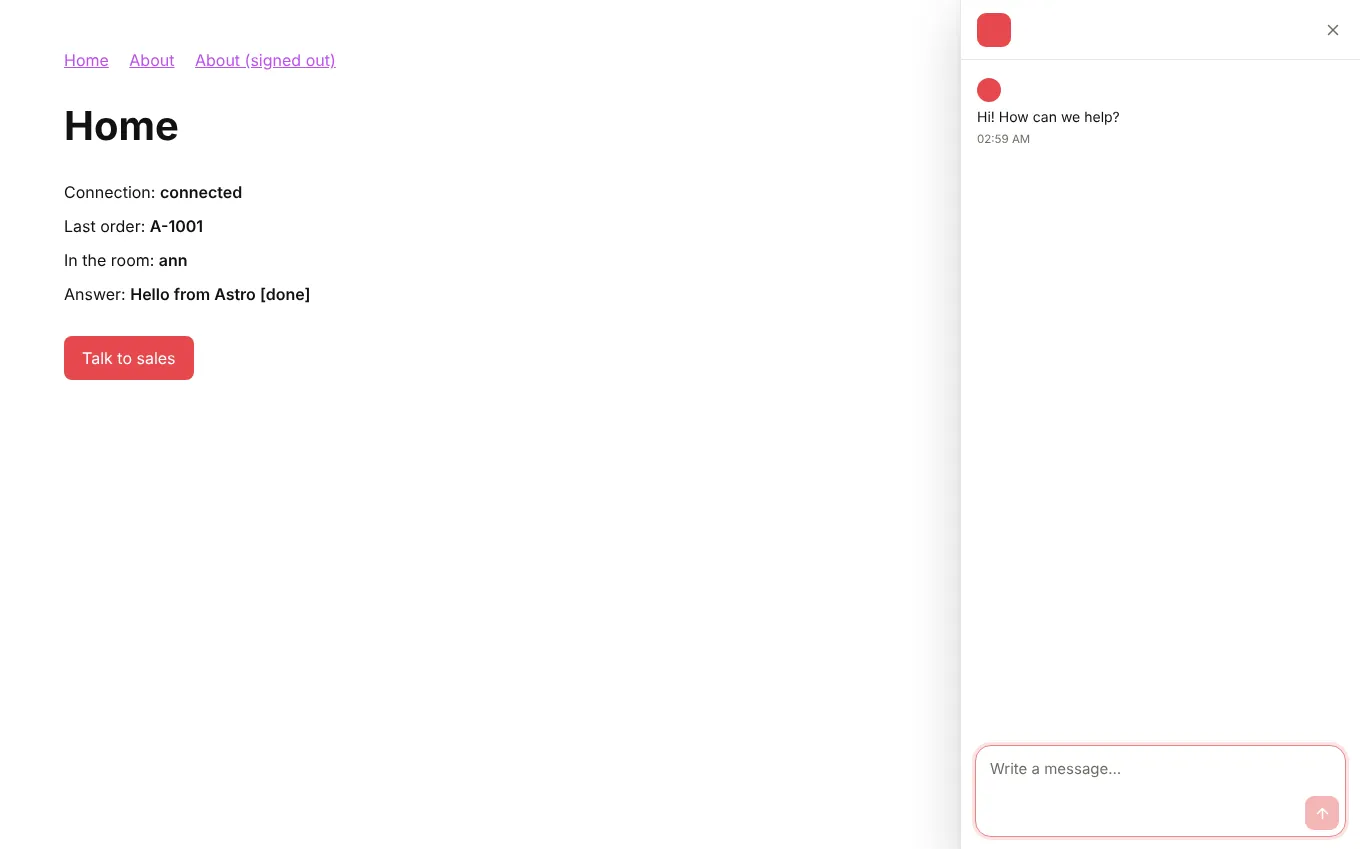
- チャットは一度だけ読み込まれ、ビュートランジションをまたいでも開いたままです。<LiveChatButton> や #hibira-live-chat へのリンクで開けます。
- <LiveChatUser> がサーバー側で識別シークレットを使って訪問者をサインインさせるので、受信箱に誰かが表示され、会話はデバイスをまたいで続きます。
- どの <script> や island でも onEvent、onPresence、onStream が使え、API ルートには channelAuth()、LLM の回答には streamToChannel() があります。
サインインすると、コード例にご自身のクラスターホストが入ります。 サインイン
インストール
npx astro add @hibira-io/astro
npm install pusher-js
設定する
// astro.config.mjs
import { defineConfig } from 'astro/config';
import hibira from '@hibira-io/astro';

export default defineConfig({
  integrations: [
    hibira({
      liveChat: 'ws_YOUR_WORKSPACE', // or PUBLIC_HIBIRA_LIVECHAT_WORKSPACE
      realtime: {
        key: import.meta.env.PUBLIC_HIBIRA_KEY,
        options: {
          wsHost: 'ws.hibira.io',
          channelAuthorization: { endpoint: '/api/hibira/auth', transport: 'ajax' },
        },
      },
    }),
  ],
});
使う
---
import { LiveChatUser, LiveChatButton } from '@hibira-io/astro/components';
const user = Astro.locals.user;
---
<LiveChatUser user={user && { id: user.id, name: user.name, email: user.email }} />
<LiveChatButton topic="sales">Talk to sales</LiveChatButton>
<p><span id="online">0</span> online</p>

<script>
  import { onEvent, onPresence } from '@hibira-io/astro/realtime';

  onEvent('orders', 'order.created', (order) => console.log(order));
  onPresence('presence-dashboard', ({ count }) => (document.getElementById('online').textContent = String(count)));
</script>
始める前に
- Live Chat コンソールでワークスペース ID を確認し、「設定」の「認証済み訪問者」で識別シークレットを作成します。HIBIRA_LIVECHAT_IDENTITY_SECRET に入れ、サーバーの外には出しません。
- Free プランでは、ページを読み込むすべてのオリジンをアプリの許可オリジンに登録してください(開発中は http://localhost:3000、その後は自分のドメイン)。"*" は有料プランで使えます。
- プライベートチャンネルとプレゼンスチャンネルには、pusher-js と同じく、アプリのシークレットで購読に署名する認可エンドポイントがバックエンドに必要です。
- Astro 5.14 以降をプロキシの後ろで動かす場合は、security.allowedDomains にドメインを登録してください。登録しないと Astro が認証リクエストを 403 で拒否します。
ダッシュボードのアプリキーを使ってください。シークレットはサーバー側だけに置きます。チャンネル、イベント、認可エンドポイントは Pusher とまったく同じように動作します。 無料でアカウントを作成 →